BLOGSPOT - Latest News from us
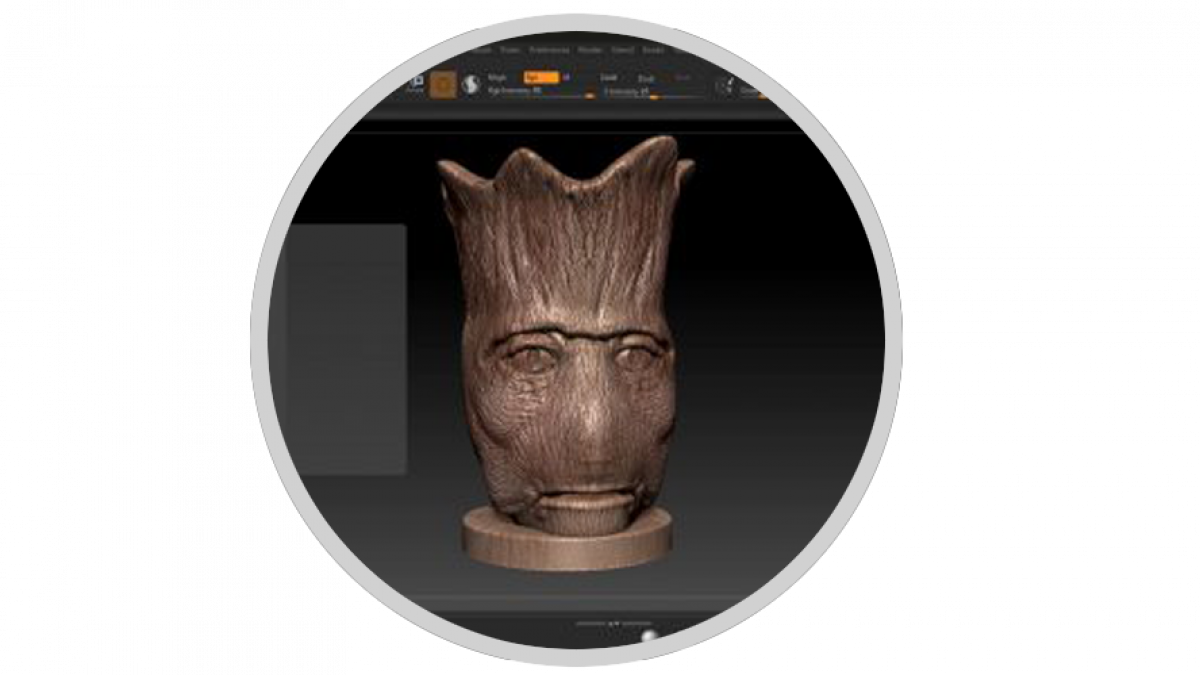
Making allowances for sculpting in ZBrush in relation to 3D Printing
 David NEWTON
In this blog we will discuss the allowances we must consider when creating sculpts for 3D Printing, this guide is by no means the only allowances...
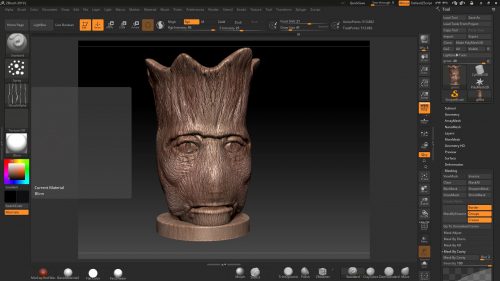
In this blog we will discuss the allowances we must consider when creating sculpts for 3D Printing, this guide is by no means the only allowances but a general rule of thumb.
Get to know your printer?
Understanding and running tests on your printer should be your first thought before jumping into creating a masterpiece for print, a series of tests should be run using the different configuration in your slicer set up the choice of slicer will be a personal preference although in some circumstances using multiple slicers might be the way forwards, I personally use CURA or SLIC3R although there are many more.
Printer preparations
Here I have highlighted a few points you should consider before even doing your first print:
⦁ Level the print bed
⦁ Make sure you're using the right setting in the Slicer for your printer
⦁ What material are you printing as a beginner PLA is the way forwards
⦁ Prepare the print bed I use Pritt Stick I apply to the glass of my print bed it just adds a little bit of stick for that vital first layer
⦁ Make sure your material runs freely
⦁ Check your Z Rods are straight
⦁ Do some research on Google into problems with your printer before you start then common problems can be noted
Running test prints
Test prints are an essential way to predict and understand what your printer is capable of a few examples would be as follows:
⦁ Detail test how much detail start with a smaller depth change maybe 0.01 and increase to 1 mm run this over a series of panels to see the result (also make sure you test again using different slicer parameters to
⦁ Angle test see what the most acute angle you can achieve without support
⦁ Fitting parts find out the tolerances you need to accurately be able to fit parts I know on my printer is 0.9 so a peg reduced by 0.9 will fir into the same hole!
⦁ Size make sure your printer is printing to the output size you set
⦁ Print a cube this is a great way to check the axis of the prints
Doing your first real print
I know we all want to get straight into doing our first model right!! wrong!!! take my advice and start simple try creating a very simple object and slowly build up the complexities this way it will build confidence.
⦁ Use your first print to test angles unsupported
⦁ try breaking the model apart and testing fitment
⦁ make sure the scale correct
⦁ Check the detail your achieving
A Final Note
As with all prints, there will be some cleanup, its also worth seeing the results and comparing them to a professional print service like Shapeways
A Course just for you
I have created a course covering how to produce models from ZBrush for 3D Print Coming out soon to keep in the loop register
Categories: : ZBrush 3D Prinitng